

Introduction
If you want ice cream that actually turns out right, this Ninja Creami vanilla ice cream recipe is the safest place to start. I use this vanilla base when I want a reliable creamy texture without thinking about ratios or wasting ingredients.
The process is simple: mix, freeze for 24 hours, spin, and re-spin if needed. Once you master this base, every flavor becomes easier.
Freeze flat for 24 hours to prevent icy edges and ensure even processing.
The Best Vanilla Base in 5 Minutes
This simple vanilla base works because the combination of fat and sugar freezes uniformly and spins smoothly. Pour it into the pint to the fill line, freeze firm, run the ICE CREAM setting, then click RE-SPIN if it appears crumbly.
Quick Base Formula
- 4 oz milk
- 4 oz heavy cream
- 2 tbsp sugar
- 1 tsp vanilla extract
Quick Steps
- Whisk until the sugar dissolves.
- Pour into the pint to the fill line.
- Freeze flat for 24 hours.
- Spin on the ICE CREAM setting.
- Use RE-SPIN for a smoother finish.
What you’ll love about this base
This foundation comes out smooth, scoopable, and never icy when treated properly. It’s totally adjustable, so you can alter the sweetness or add protein without disturbing the texture.
It’s also excellent for mix-ins like mini chocolate chips, cookies, or fruit after spinning.
What You Need (Ingredients + Tools)
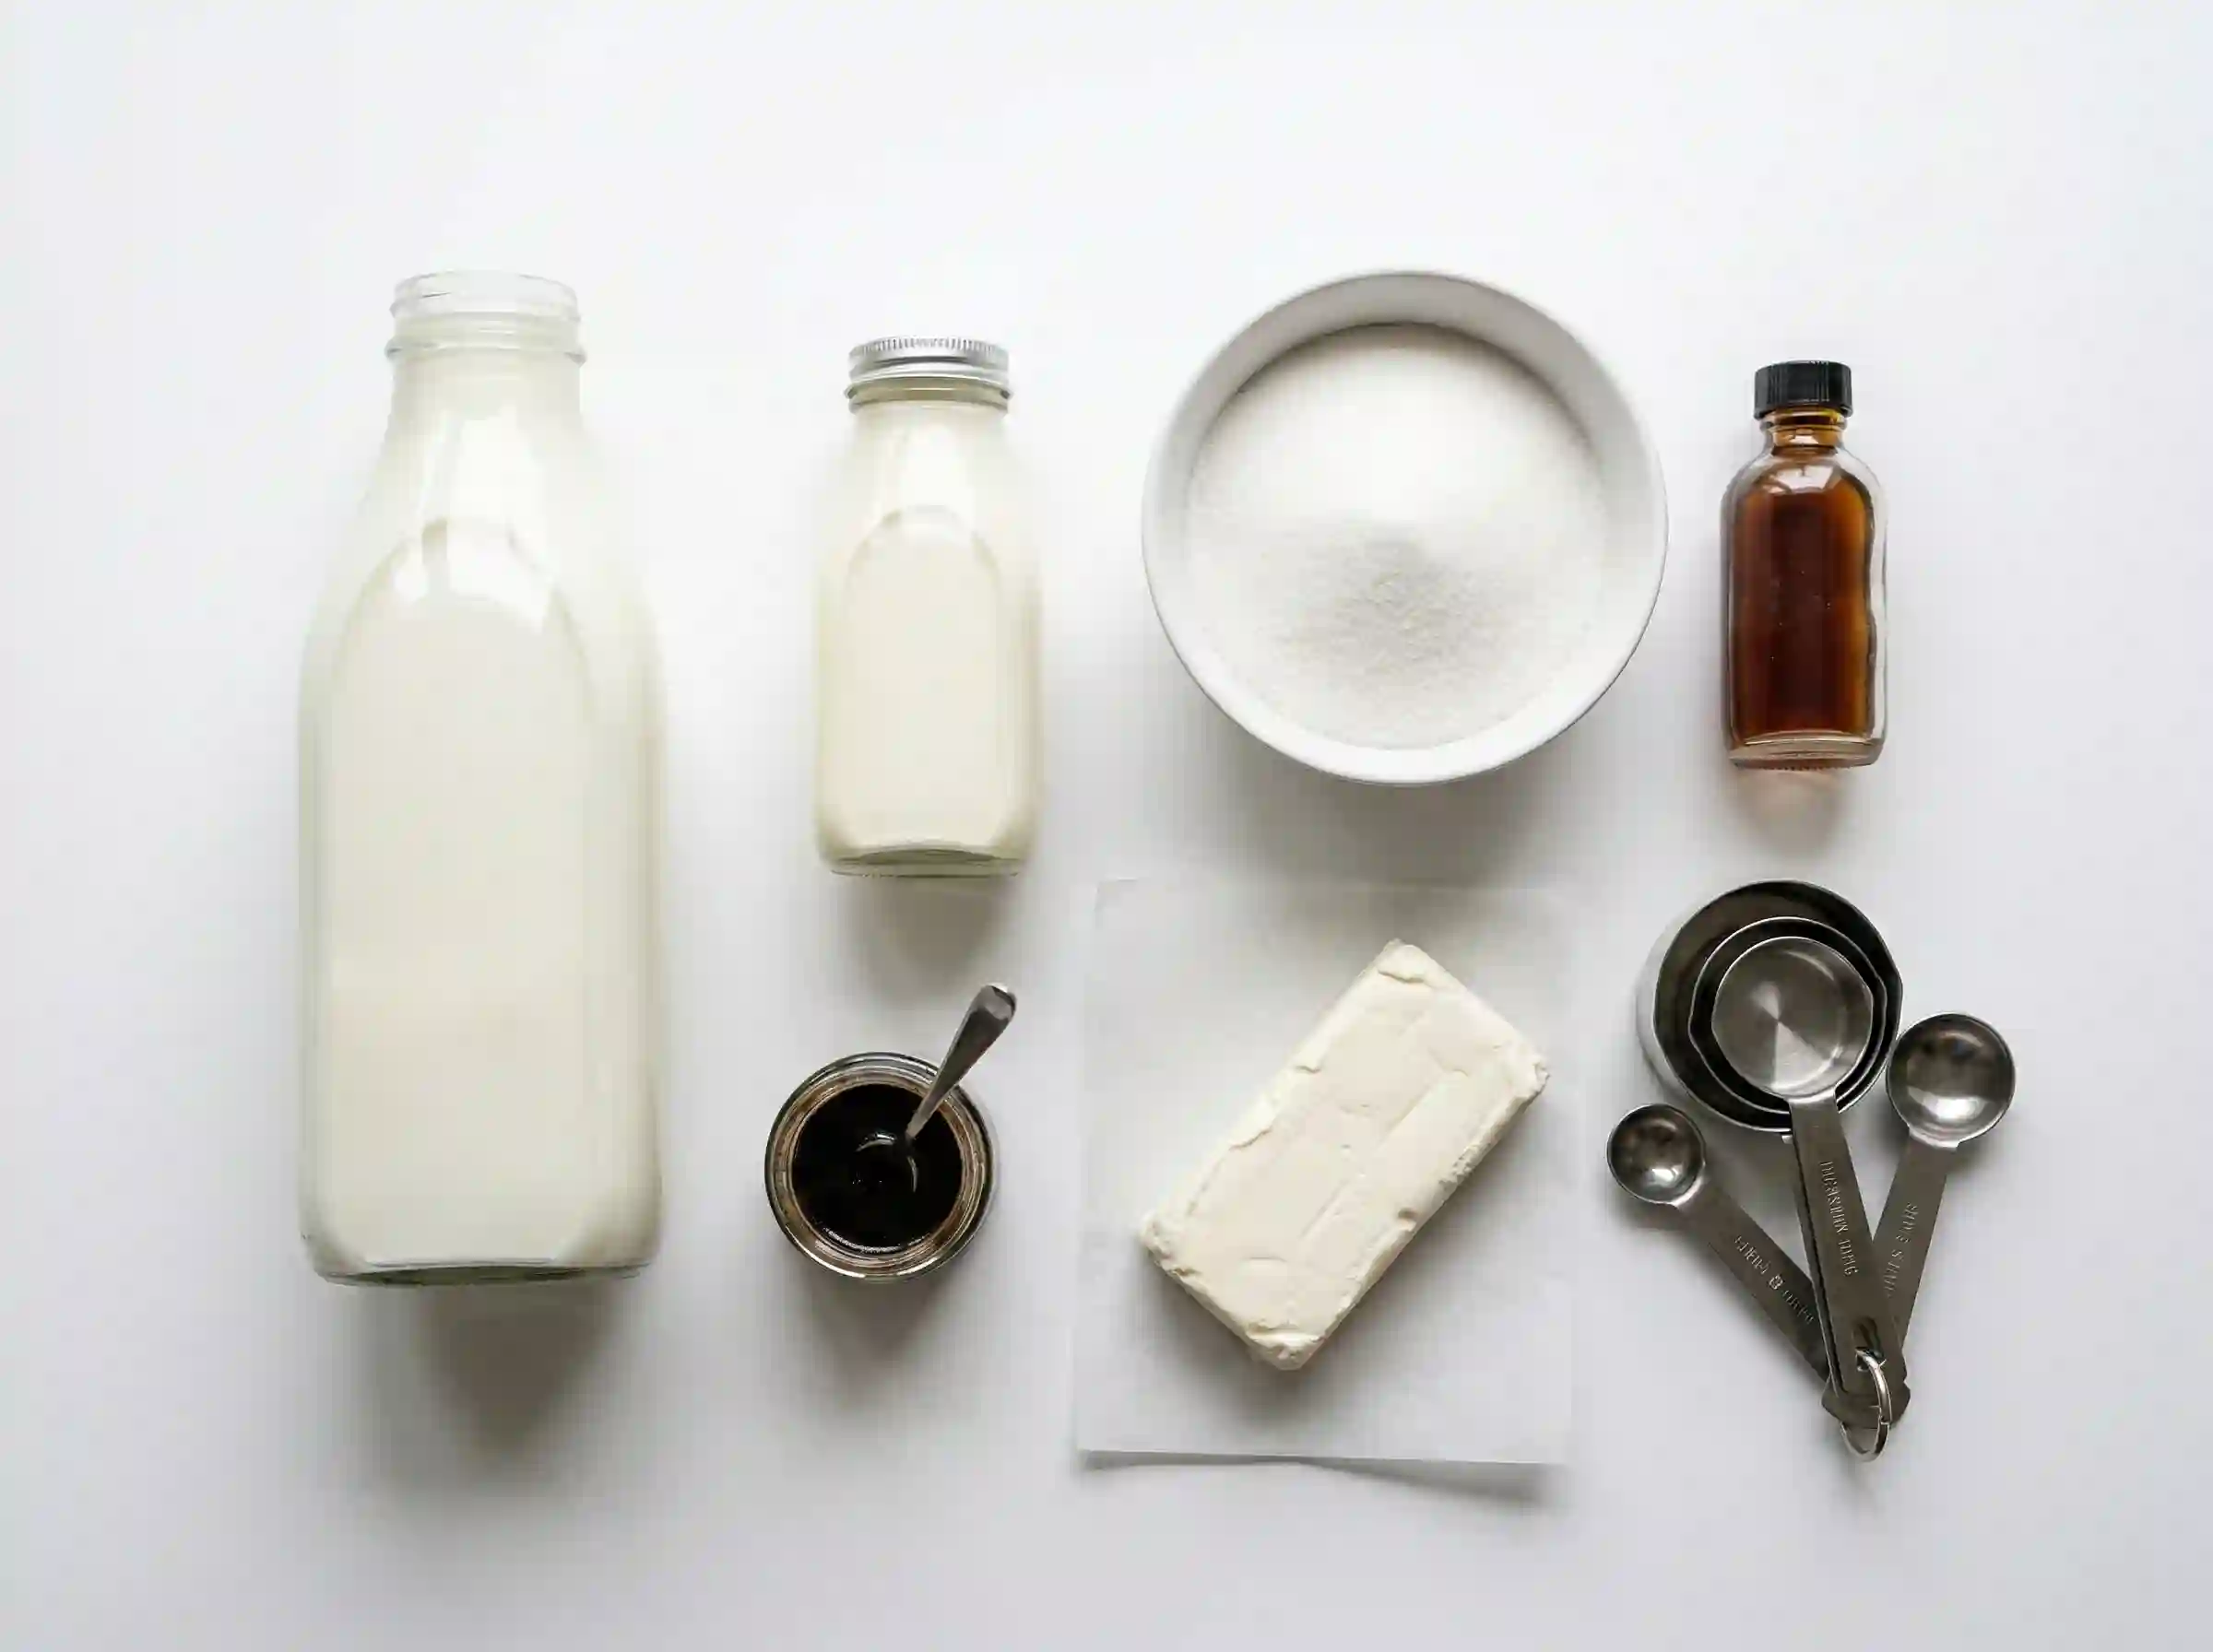
Before you start, collect the necessities so your Ninja Creami pint/container freezes evenly and spins without difficulties. This recipe only needs a freezer and a whisk or blender. It also needs vanilla extract or vanilla bean paste.
Using the right tools prevents icy edges, uneven freezing, and grainy texture.
Ingredients (classic core list)
This classic base delivers the fat and sweetness needed for a smooth spin.
You’ll need:
- milk
- heavy cream
- sugar
- cream cheese (optional) for extra body and creaminess
- vanilla (extract or bean paste)
The combination produces structure, sweetness, and a balanced vanilla taste.
Heavy cream adds fat for creaminess, while sugar lowers the freezing point for a smoother texture.
Tools & prep tips
Good prep makes the difference between creamy and crumbly.
- Mix until sugar dissolves completely to avoid graininess.
- Scrape the sides of the container so the ingredients blend evenly.
- Place the pint in a freezer on a level surface.
- Always freeze flat to prevent a raised center and icy edges.
These small steps help the base freeze evenly and spin into a smooth texture.
The Core Vanilla Recipe (Classic Creamy Base)
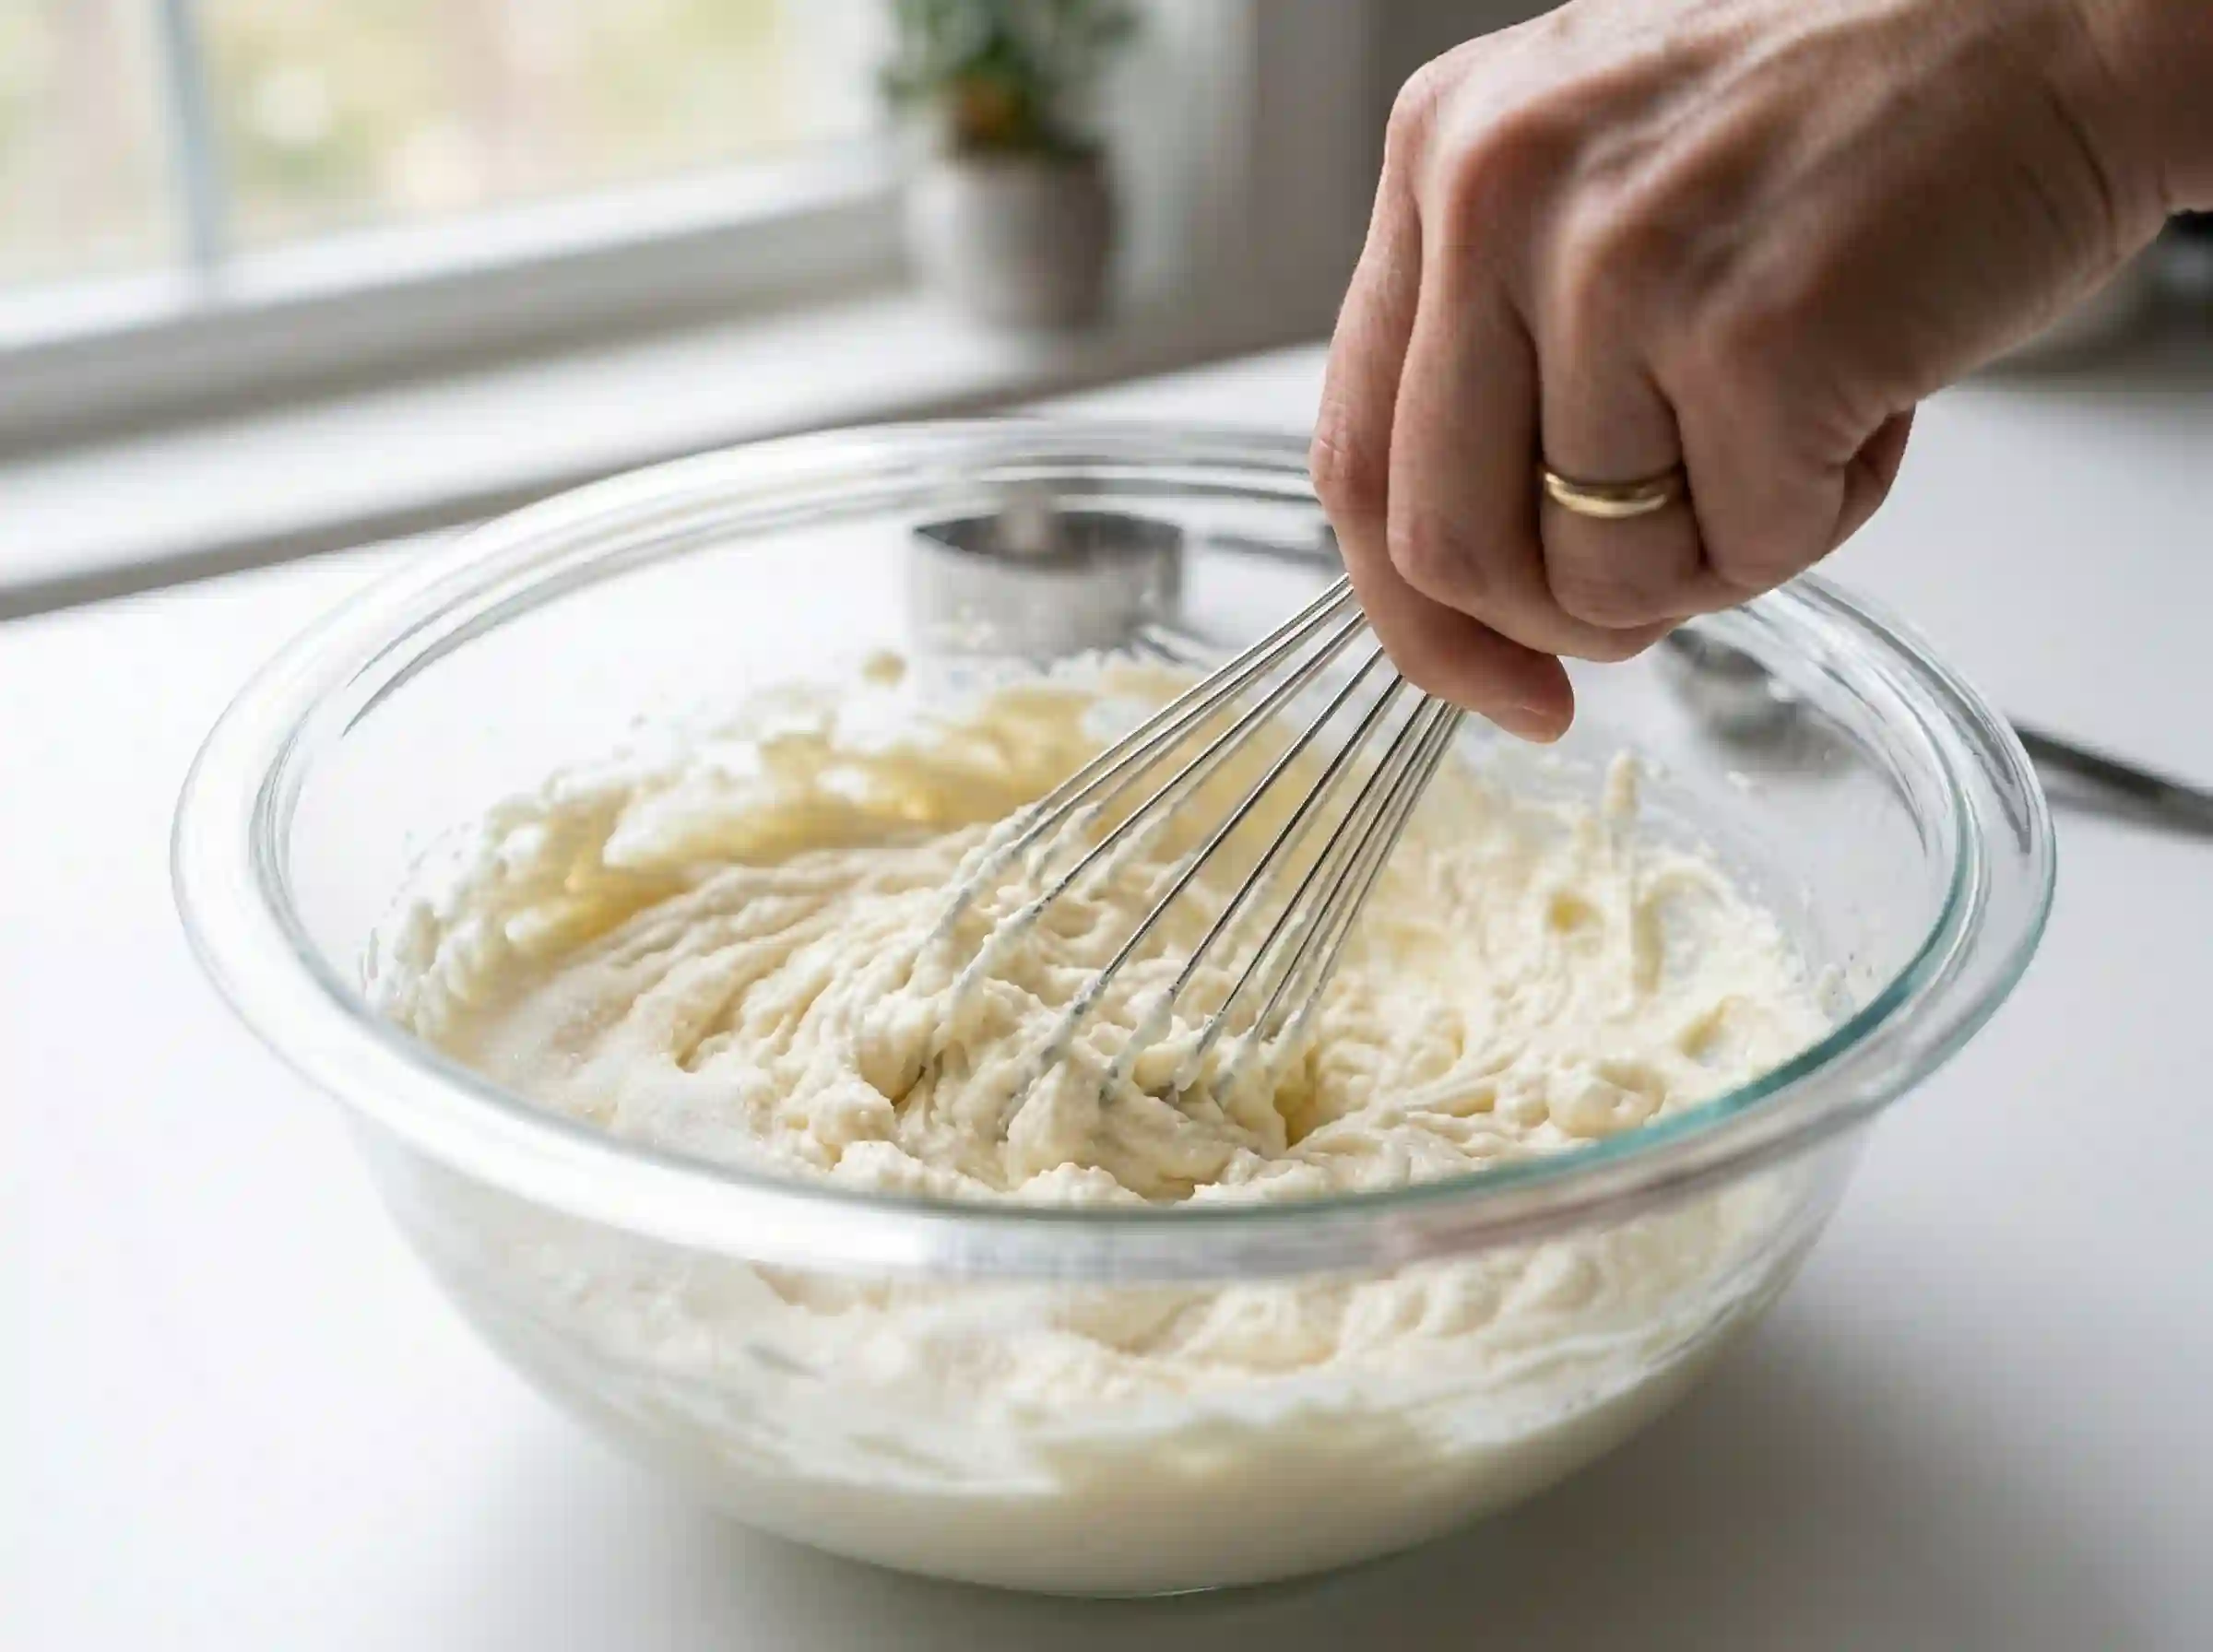
This cream cheese base gives the most trustworthy creamy texture in the Ninja Creami. The balance of granulated sugar, heavy cream, whole milk, and vanilla creates a smooth texture. It churns evenly and stays easy to scoop.
If you want even effects, this is the base to master first.
Cream cheese stabilizes the mixture, while fat and sugar enhance spin consistency.
Step-by-step instructions
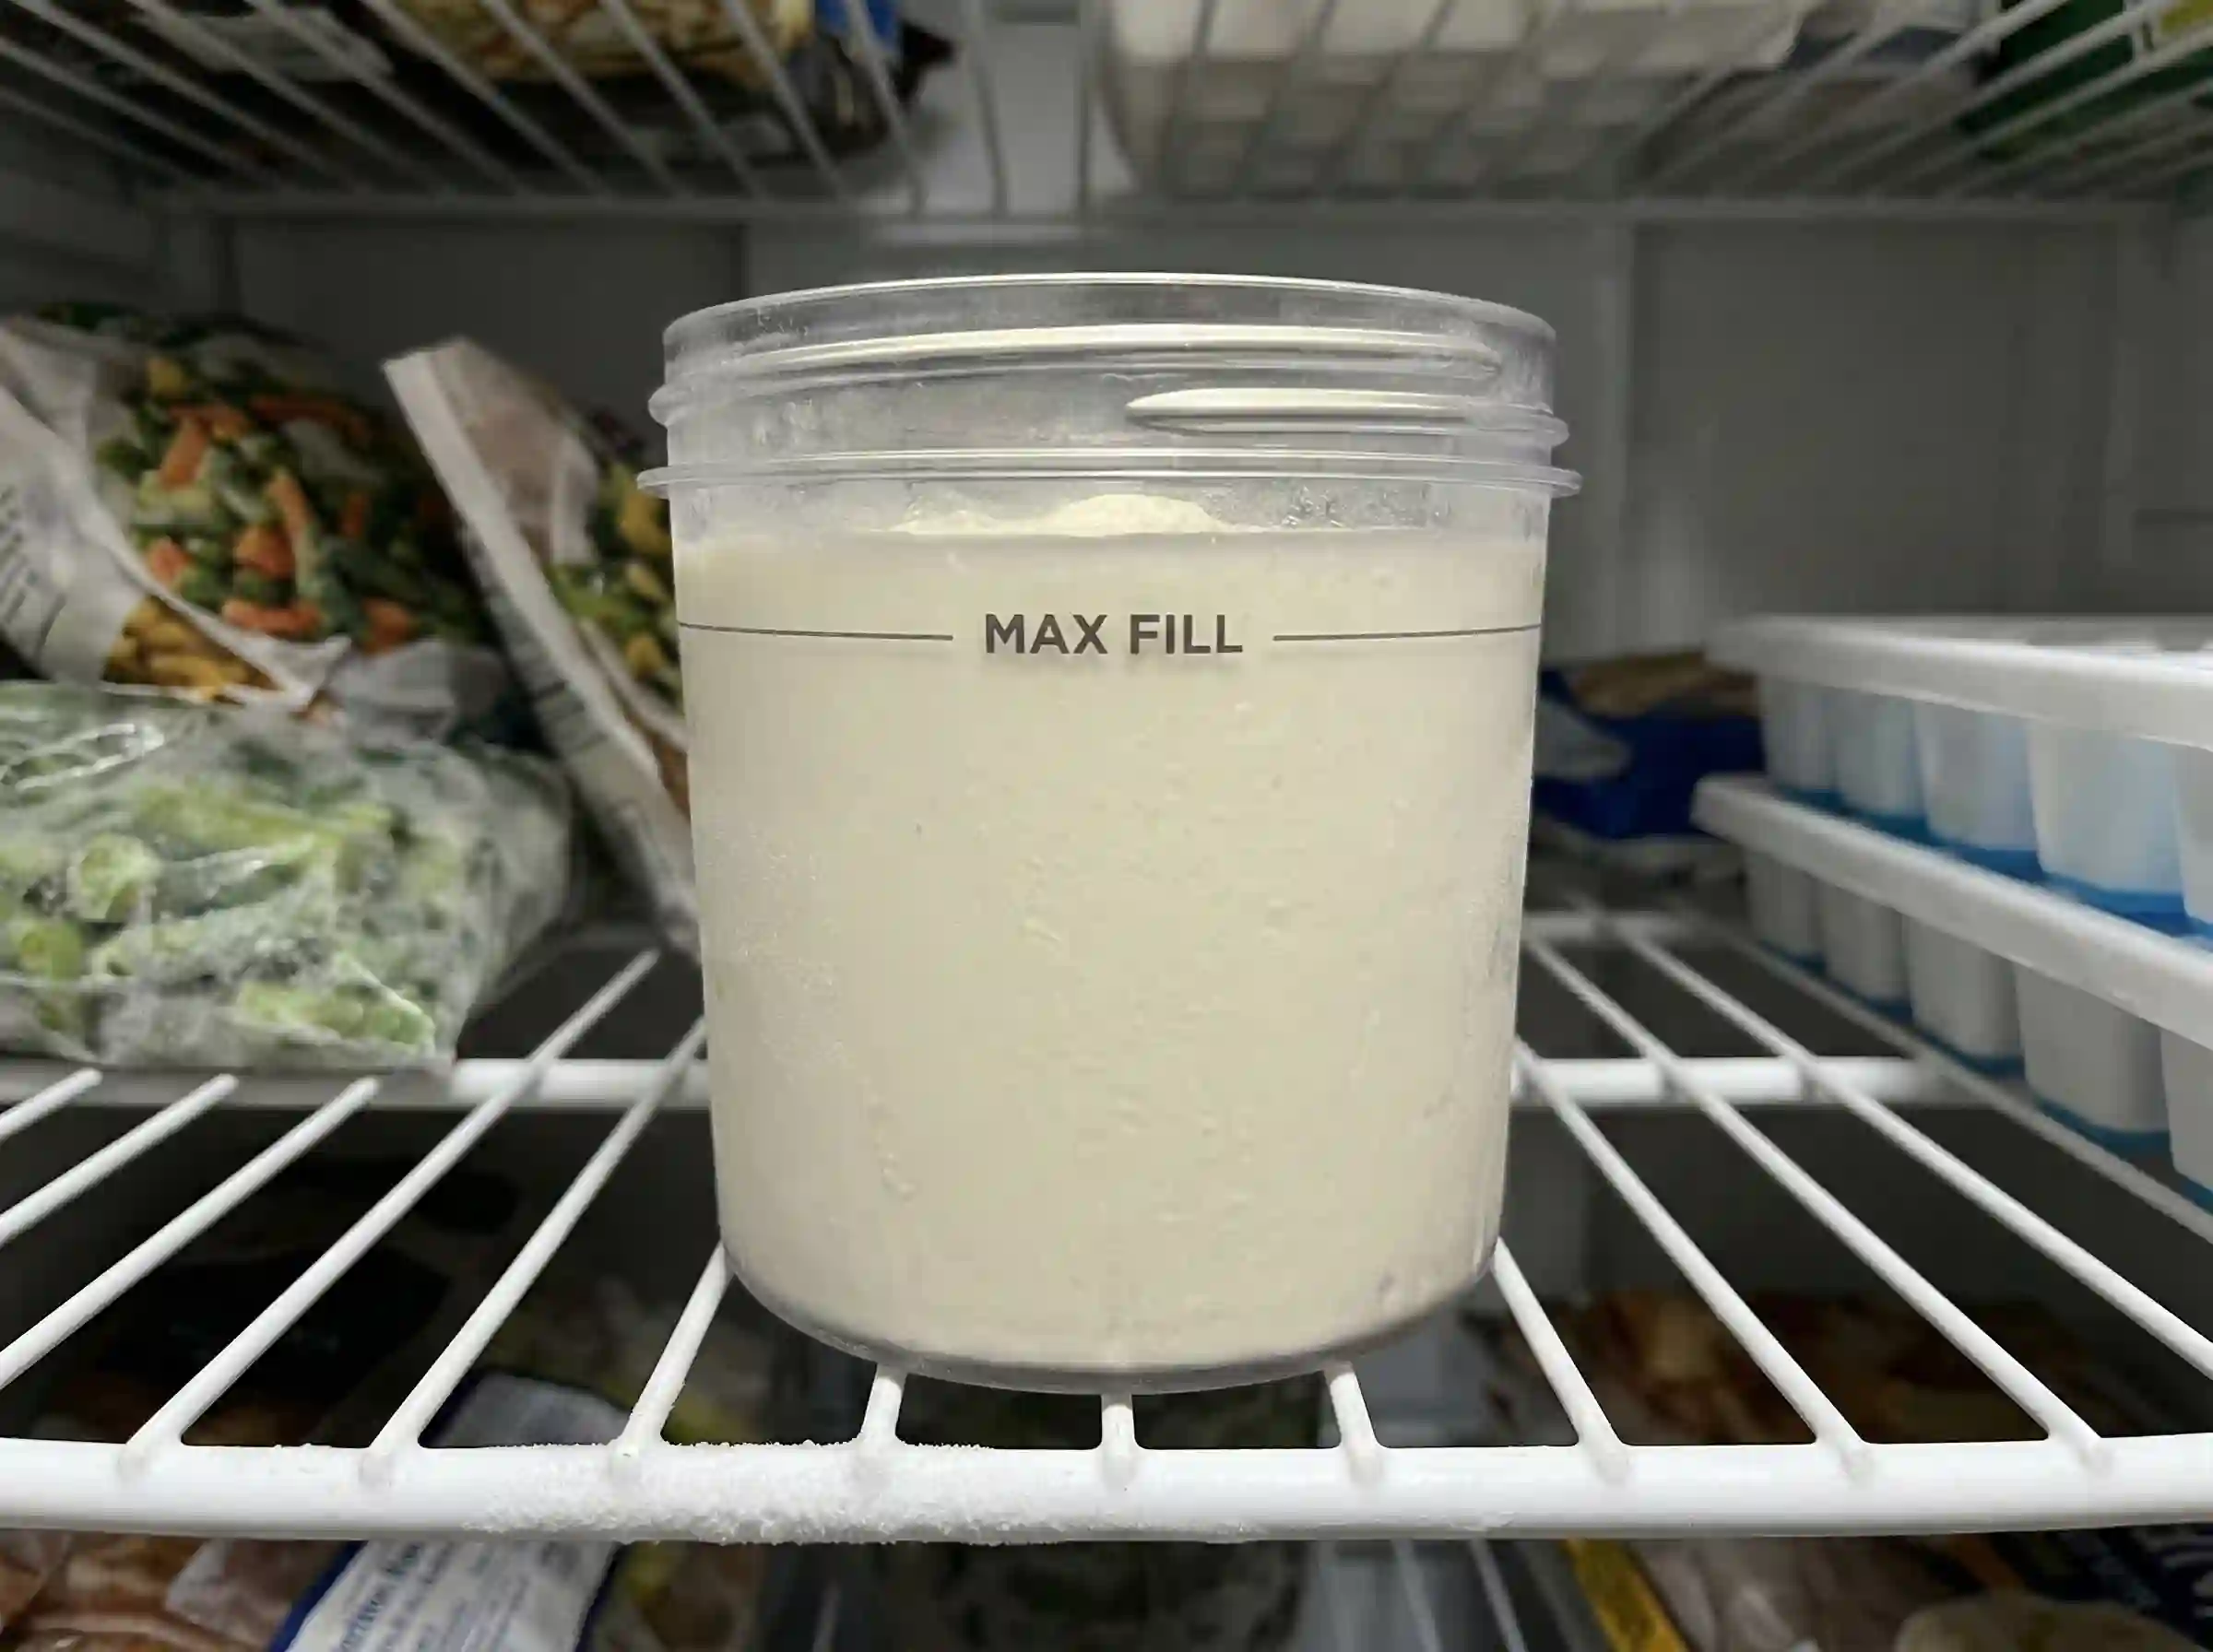
Follow these steps carefully to avoid icy or crumbly results.
- Soften cream cheese in the microwave for 10–15 seconds.
- Add sugar and whisk until smooth and lump-free.
- Whisk in milk, heavy cream, and vanilla.
- Pour into a pint and level the surface.
- Cover and freeze for 24 hours on a flat surface.
- Remove from freezer and spin/process in the machine.
Proper freezing provides the mixture process.
Smooth the top before freezing to prevent uneven spinning.
Spinning instructions (the exact buttons)
Place the frozen pint into the machine and lock the lid.
- Press ICE CREAM for the classic base.
- Use LITE ICE CREAM if the base is lower in fat or sugar.
- After the cycle, press RE-SPIN for a smoother finish.
These settings break the frozen block into a creamy texture.
After the first spin (texture check)
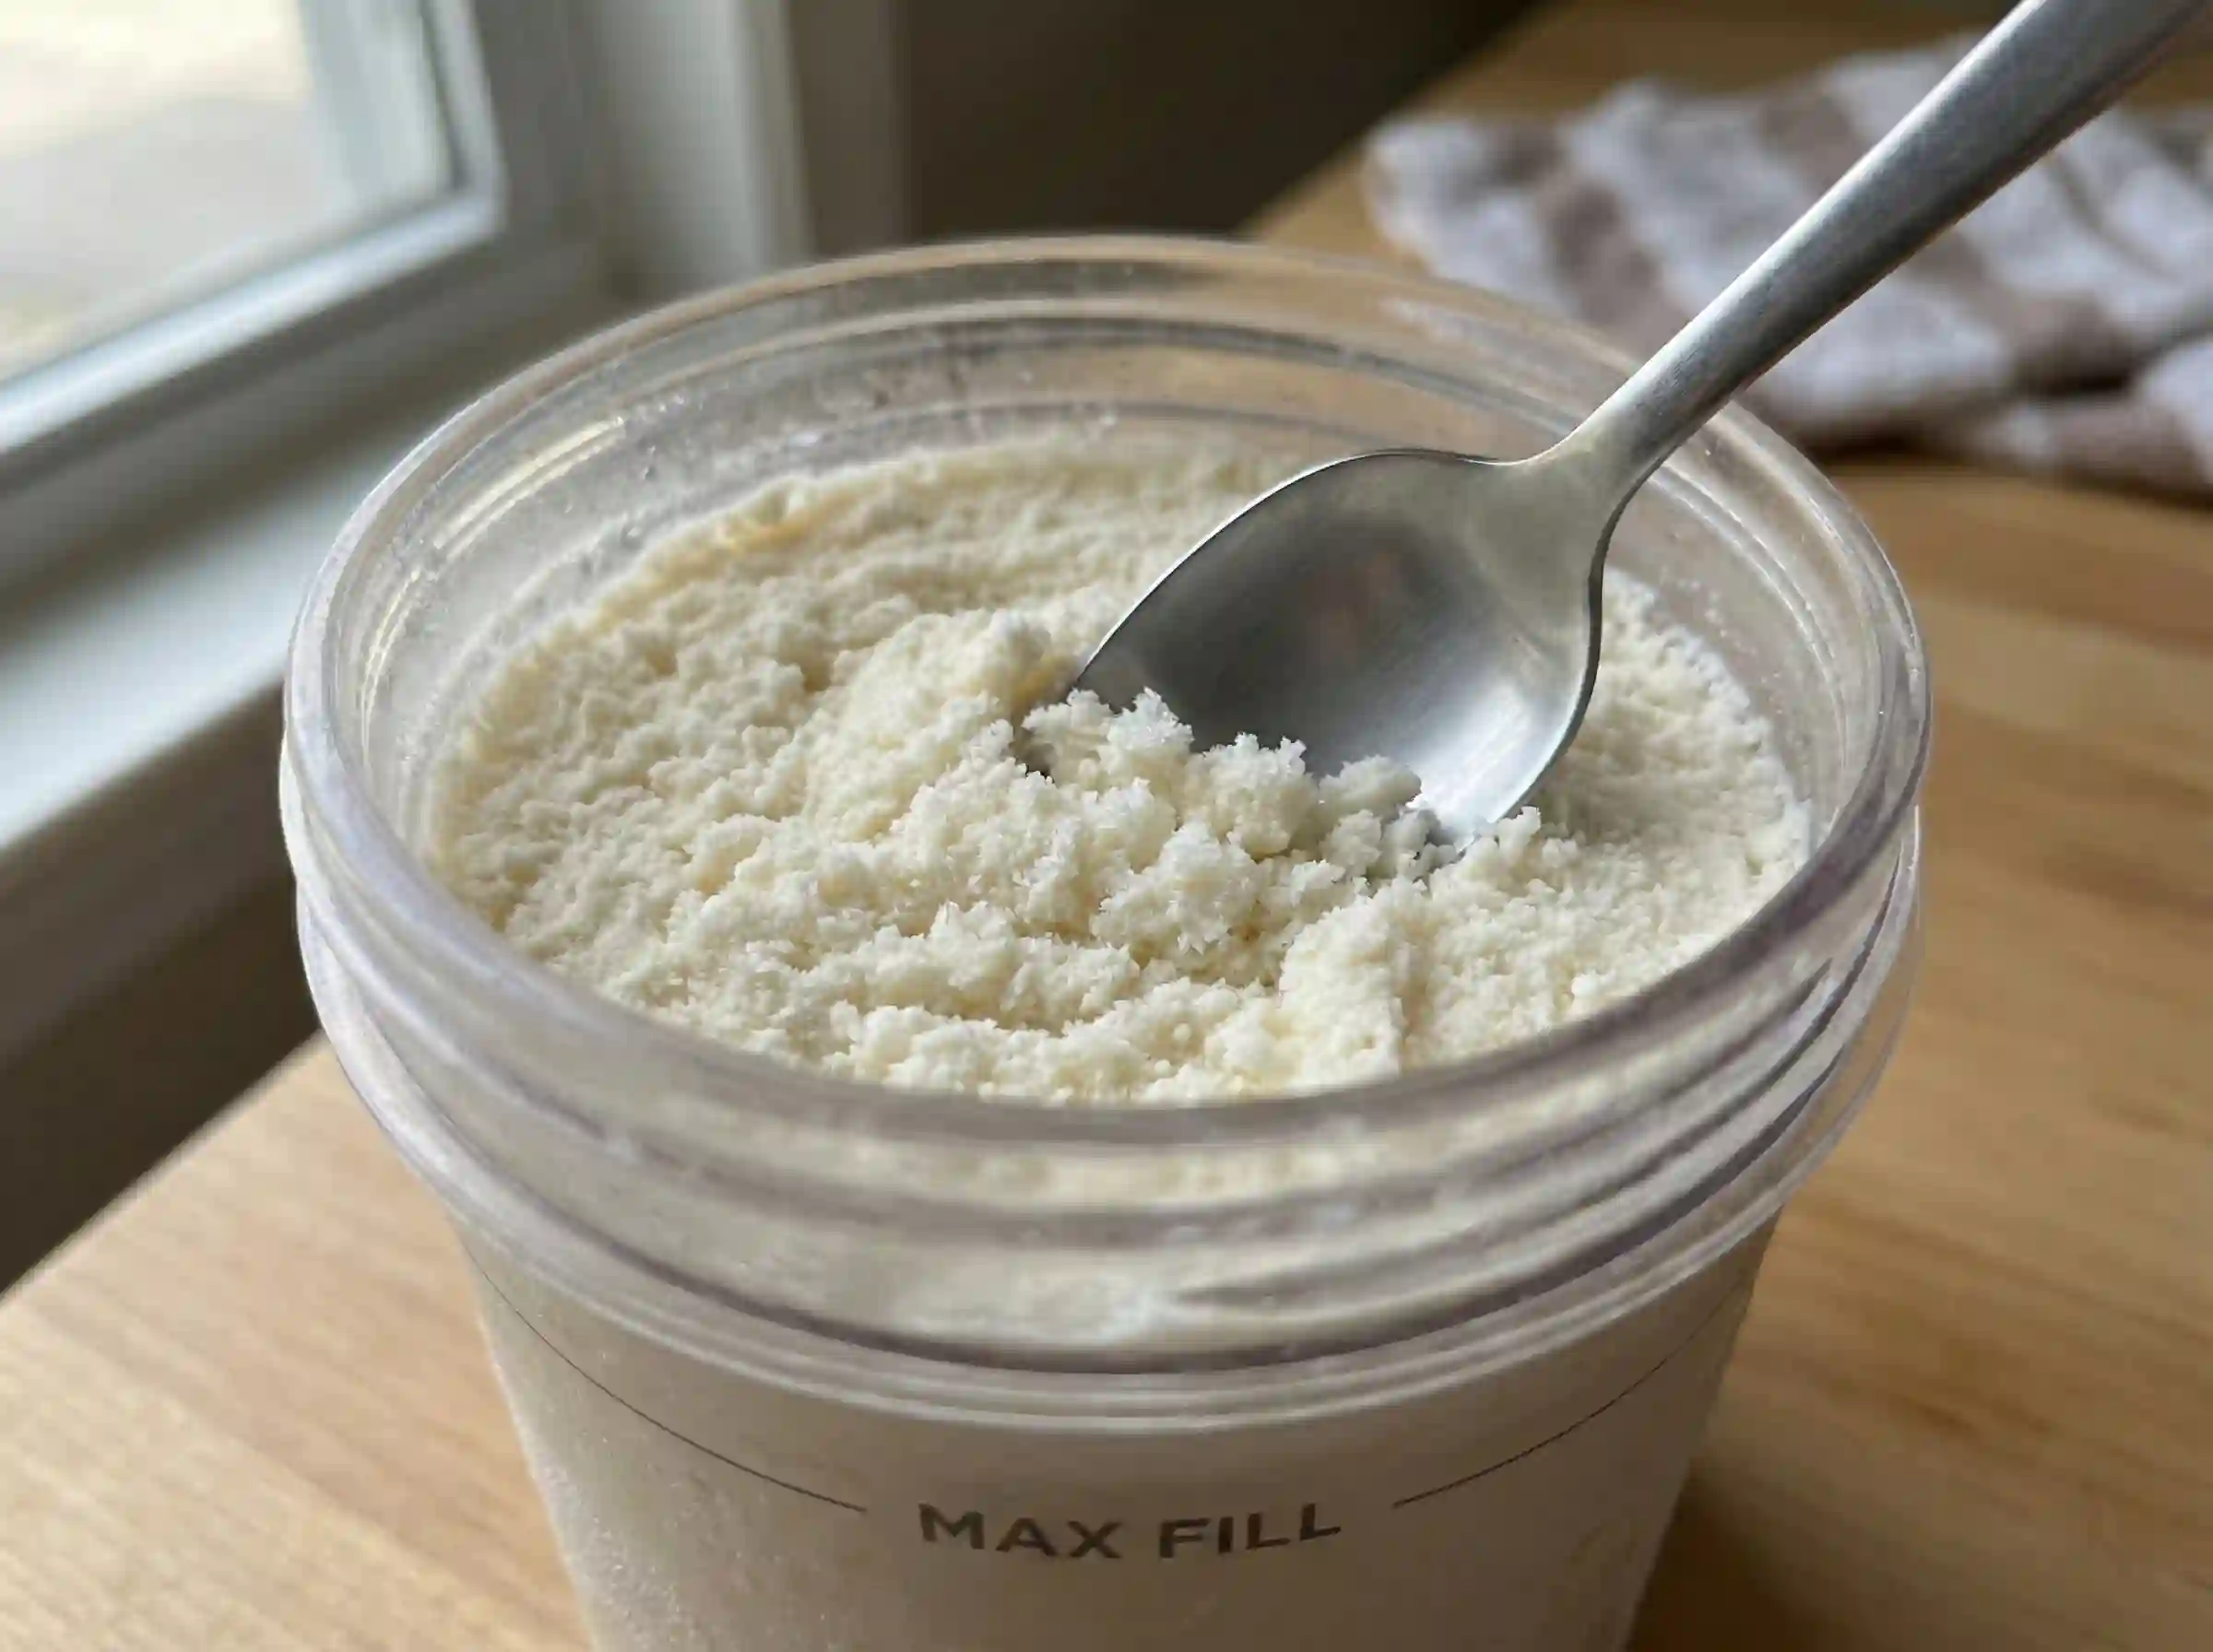
Don’t worry if the texture looks crumbly or powdery after the first cycle. This is regular and easy to fix.
Add a splash of milk or cream, then re-spin again. The mixture will quickly change into smooth ice cream.
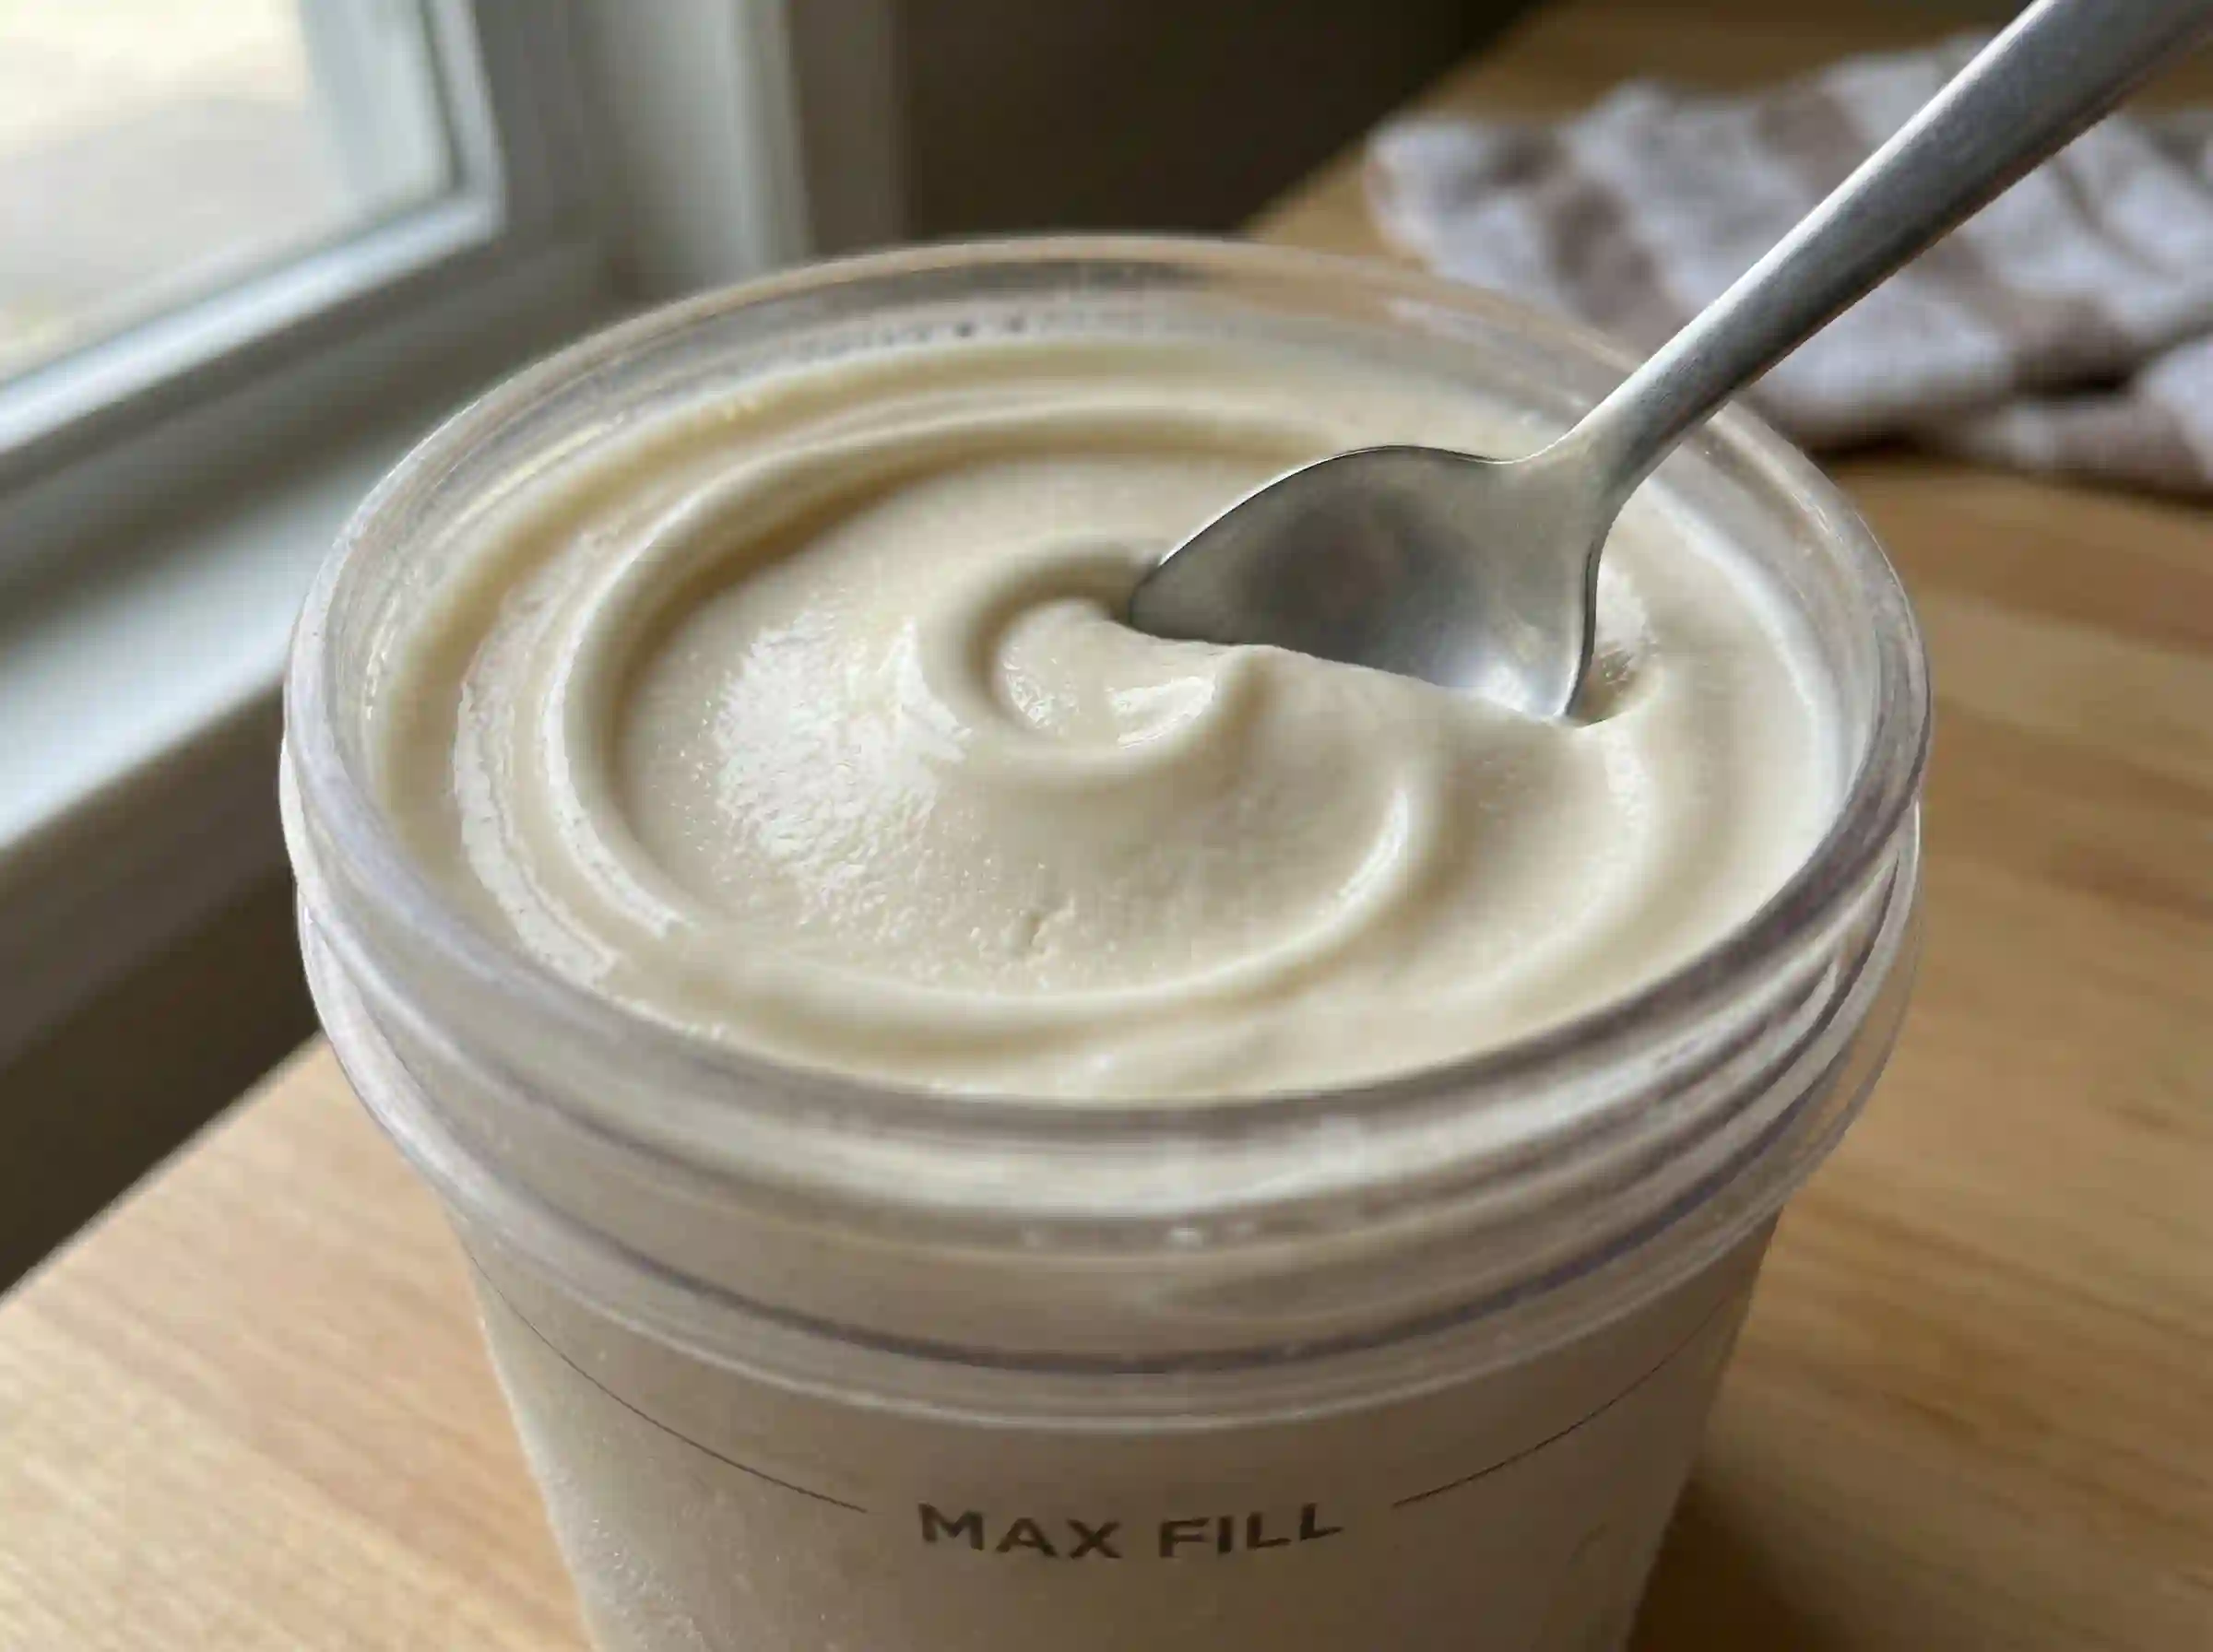
Choose Your Best Vanilla Base (4 Options)
Not every pint needs the exact formula. These base options help you choose by goal, whether you want rich vs light, extra protein, or a fully dairy-free version.
Pick the base that matches your taste, diet, and texture choice.
Option 1: “Rich & Classic” Condensed Milk Vanilla
This version gives a dense, scoop-shop texture with minimal effort. The combination of sweetened condensed milk, heavy cream, milk, and vanilla bean paste creates a silky base.
It’s no eggs and completely no-cook, making it one of the easiest rich ice creams to prepare.
Quick ratio:
- ½ cup sweetened condensed milk
- ½ cup heavy cream
- ¼ cup milk
- 1 tsp vanilla bean paste
Freeze for 24 hours and spin on ICE CREAM.
Important rule: what NOT to substitute
Do not switch condensed milk with evaporated milk. Evaporated milk won’t work, and the pint may freeze too hard and spin into icy crumbs.
This swap creates a texture risk because condensed milk provides both sugar and structure.
Option 2: “Official-Style” Vanilla + Chocolate Chips
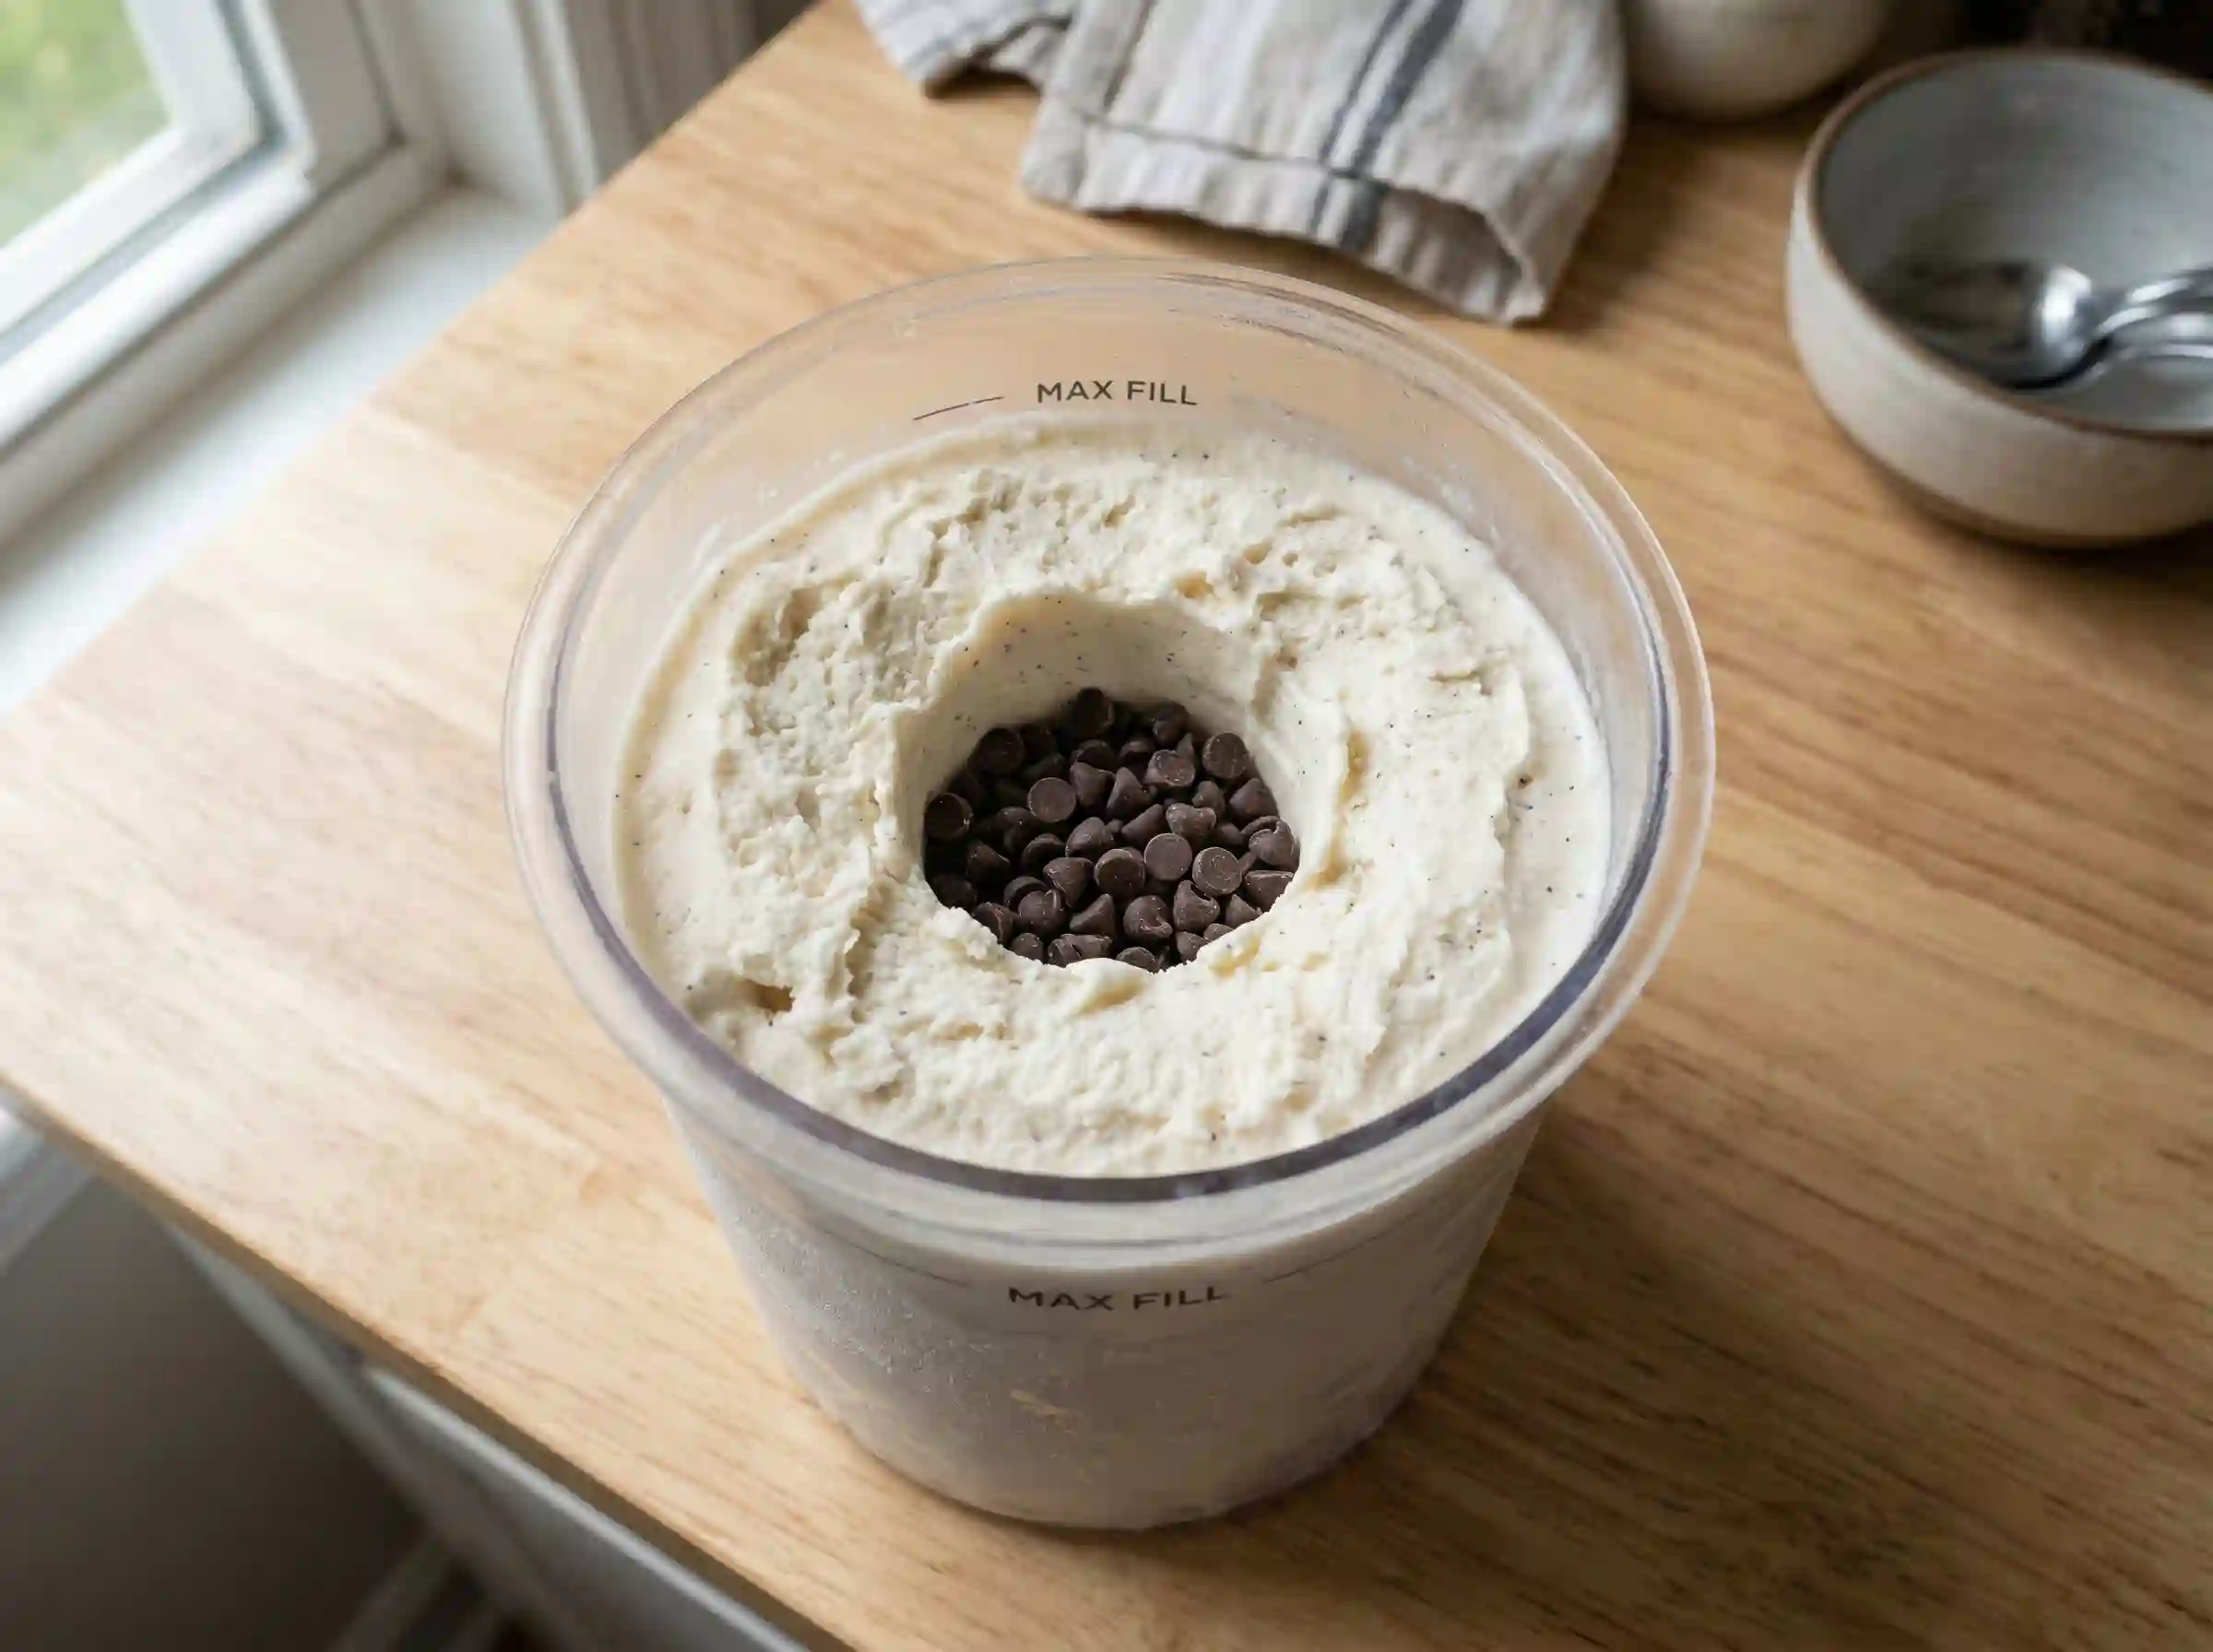
This version mirrors the test kitchen method and is perfect for add-ins.
After spinning, dig a hole/center well in the ice cream, add mini chocolate chips, and run the MIX-IN program.
This spreads chocolate evenly without smashing it.
Mix-in best practices
Choose the correct mix-in size so parts remain intact. Mini chips and little cookie pieces work well.
Don’t over-process, or the machine will pulverize add-ins. For a chunkier texture, you can fold in by hand (optional) after spinning.
Option 3: High-Protein Vanilla (Protein Shake or Powder)
If you want a lighter pint, use a protein shake or protein powder base. This version is filling, reduced in sugar, and excellent for everyday consumption.
Blend a protein shake with vanilla, or combine milk with protein powder. Add xanthan gum (optional) for a smoother texture and a spoonful of nut butter (optional) for richness.
Process using the LITE setting.
How to avoid chalky or icy protein pints
Always blend thoroughly to remove clumps. A small stabilizer is optional but helpful.
If the texture turns crumbly, add a splash of milk and re-spin with a splash for creaminess.
Option 4: Dairy-Free / Vegan Vanilla Base
You can create a smooth dairy-free pint using oat milk / almond milk/soy milk. For a better body, add coconut cream (optional) or vegan cream cheese.
These additions replace dairy fat and improve texture.
Freeze flat and spin on LITE or ICE CREAM, depending on fat content.
Prevent icy edges in dairy-free pints
If the edges freeze too hard, briefly run warm water over the outside of the container before spinning.
Adding a little fat improves texture, and a quick re-spin smooths remaining ice crystals.
Which Setting Should You Use? (ICE CREAM vs LITE vs MIX-IN)
Choosing the correct software is the difference between powdery ice and a velvety scoop. The ICE CREAM setting, LITE ICE CREAM setting, and MIX-IN mode handle frozen bases in different ways. This directly affects the texture.
Use the right cycle for your fat, sugar, and add-in needs.
Using the wrong setting can cause crumbly texture or over-processed mix-ins.
How the settings affect texture
- ICE CREAM setting creates the creamiest, richest texture for traditional bases.
- LITE ICE CREAM setting spins longer and finer to smooth lower-fat or protein mixtures.
- MIX-IN gently distributes add-ins without fully breaking them apart.
Understanding these texture differences controls icy or gummy results.
Quick selection chart (recommended)
Use this quick guide to pick the right setting:
- Higher fat/sugar → ICE CREAM
- Lower fat/protein → LITE
- Add-ins → MIX-IN
If the pint looks crumbly after processing, run RE-SPIN for a smoother finish.
Troubleshooting Guide (Fix Any Pint Fast)
Even a perfect base can look crumbly, powdery, icy, or gummy after spinning. The good news is that most texture issues are easy to fix with a quick re-spin or a small adjustment.
Use this tutorial to identify the issue and solve it quickly.
Liquid + re-spin solve most texture issues.
If it’s crumbly or powdery
This is the most common result after the first spin. The ice crystals need more moisture to bind.
Add 1–2 tablespoons milk/cream, then re-spin. If needed, repeat once for a smoother finish.
If it’s icy or has hard edges
Icy edges usually happen when the pint freezes unevenly.
Always freeze flat and don’t exceed the fill line. Run a re-spin, and remember that more fat helps create a smoother texture.
If it’s gummy or too soft
A gummy texture usually means too many stabilizers or sweeteners.
Reduce stabilizers, reduce sweeteners, and refreeze 10–15 minutes before spinning again.
If it won’t freeze properly
If the center remains soft, the base usually includes too much sweetener. Sugar lowers the freezing point, preventing solid freezing.
Measure correctly to prevent over-sweetening and achieve optimal texture.
Too much sweetener lowers the freezing point, which prevents the base from freezing solid.
Flavor Upgrades (Vanilla That Actually Tastes Like Vanilla)
Vanilla tastes flat if you don’t layer the flavor correctly. Choosing between vanilla extract vs vanilla bean paste can improve a simple pint. Use a real vanilla bean for a deeper flavor. Add a small pinch of salt to make it taste rich and bakery-style.
Salt doesn’t make it salty. It sharpens the sweetness and intensifies the vanilla taste.
Vanilla bean paste adds visible specks and a stronger aroma.
How to choose your vanilla flavor source
- Vanilla extract gives a clean, classic flavor.
- Vanilla bean paste delivers a deeper taste and visible specks.
- Vanilla bean gives the richest aroma when you scrape in the seeds.
- A pinch of salt enhances sweetness and balances the flavor.
These small upgrades make vanilla taste fuller and more natural.
Best add-ins that keep vanilla “clean.”
Vanilla combines well with mix-ins that enhance rather than dominate.
- Mini chocolate chips add texture without overwhelming flavor
- Crushed cookies provide crunch and sweetness
- Small brownie pieces bring a soft, fudgy contrast
- Bites of cookie dough add richness and chew
If you enjoy baking cookies and other sweet or savory treats, this fresh herb pizza is an easy choice for gatherings.
Storage, Leftovers, and Meal Prep
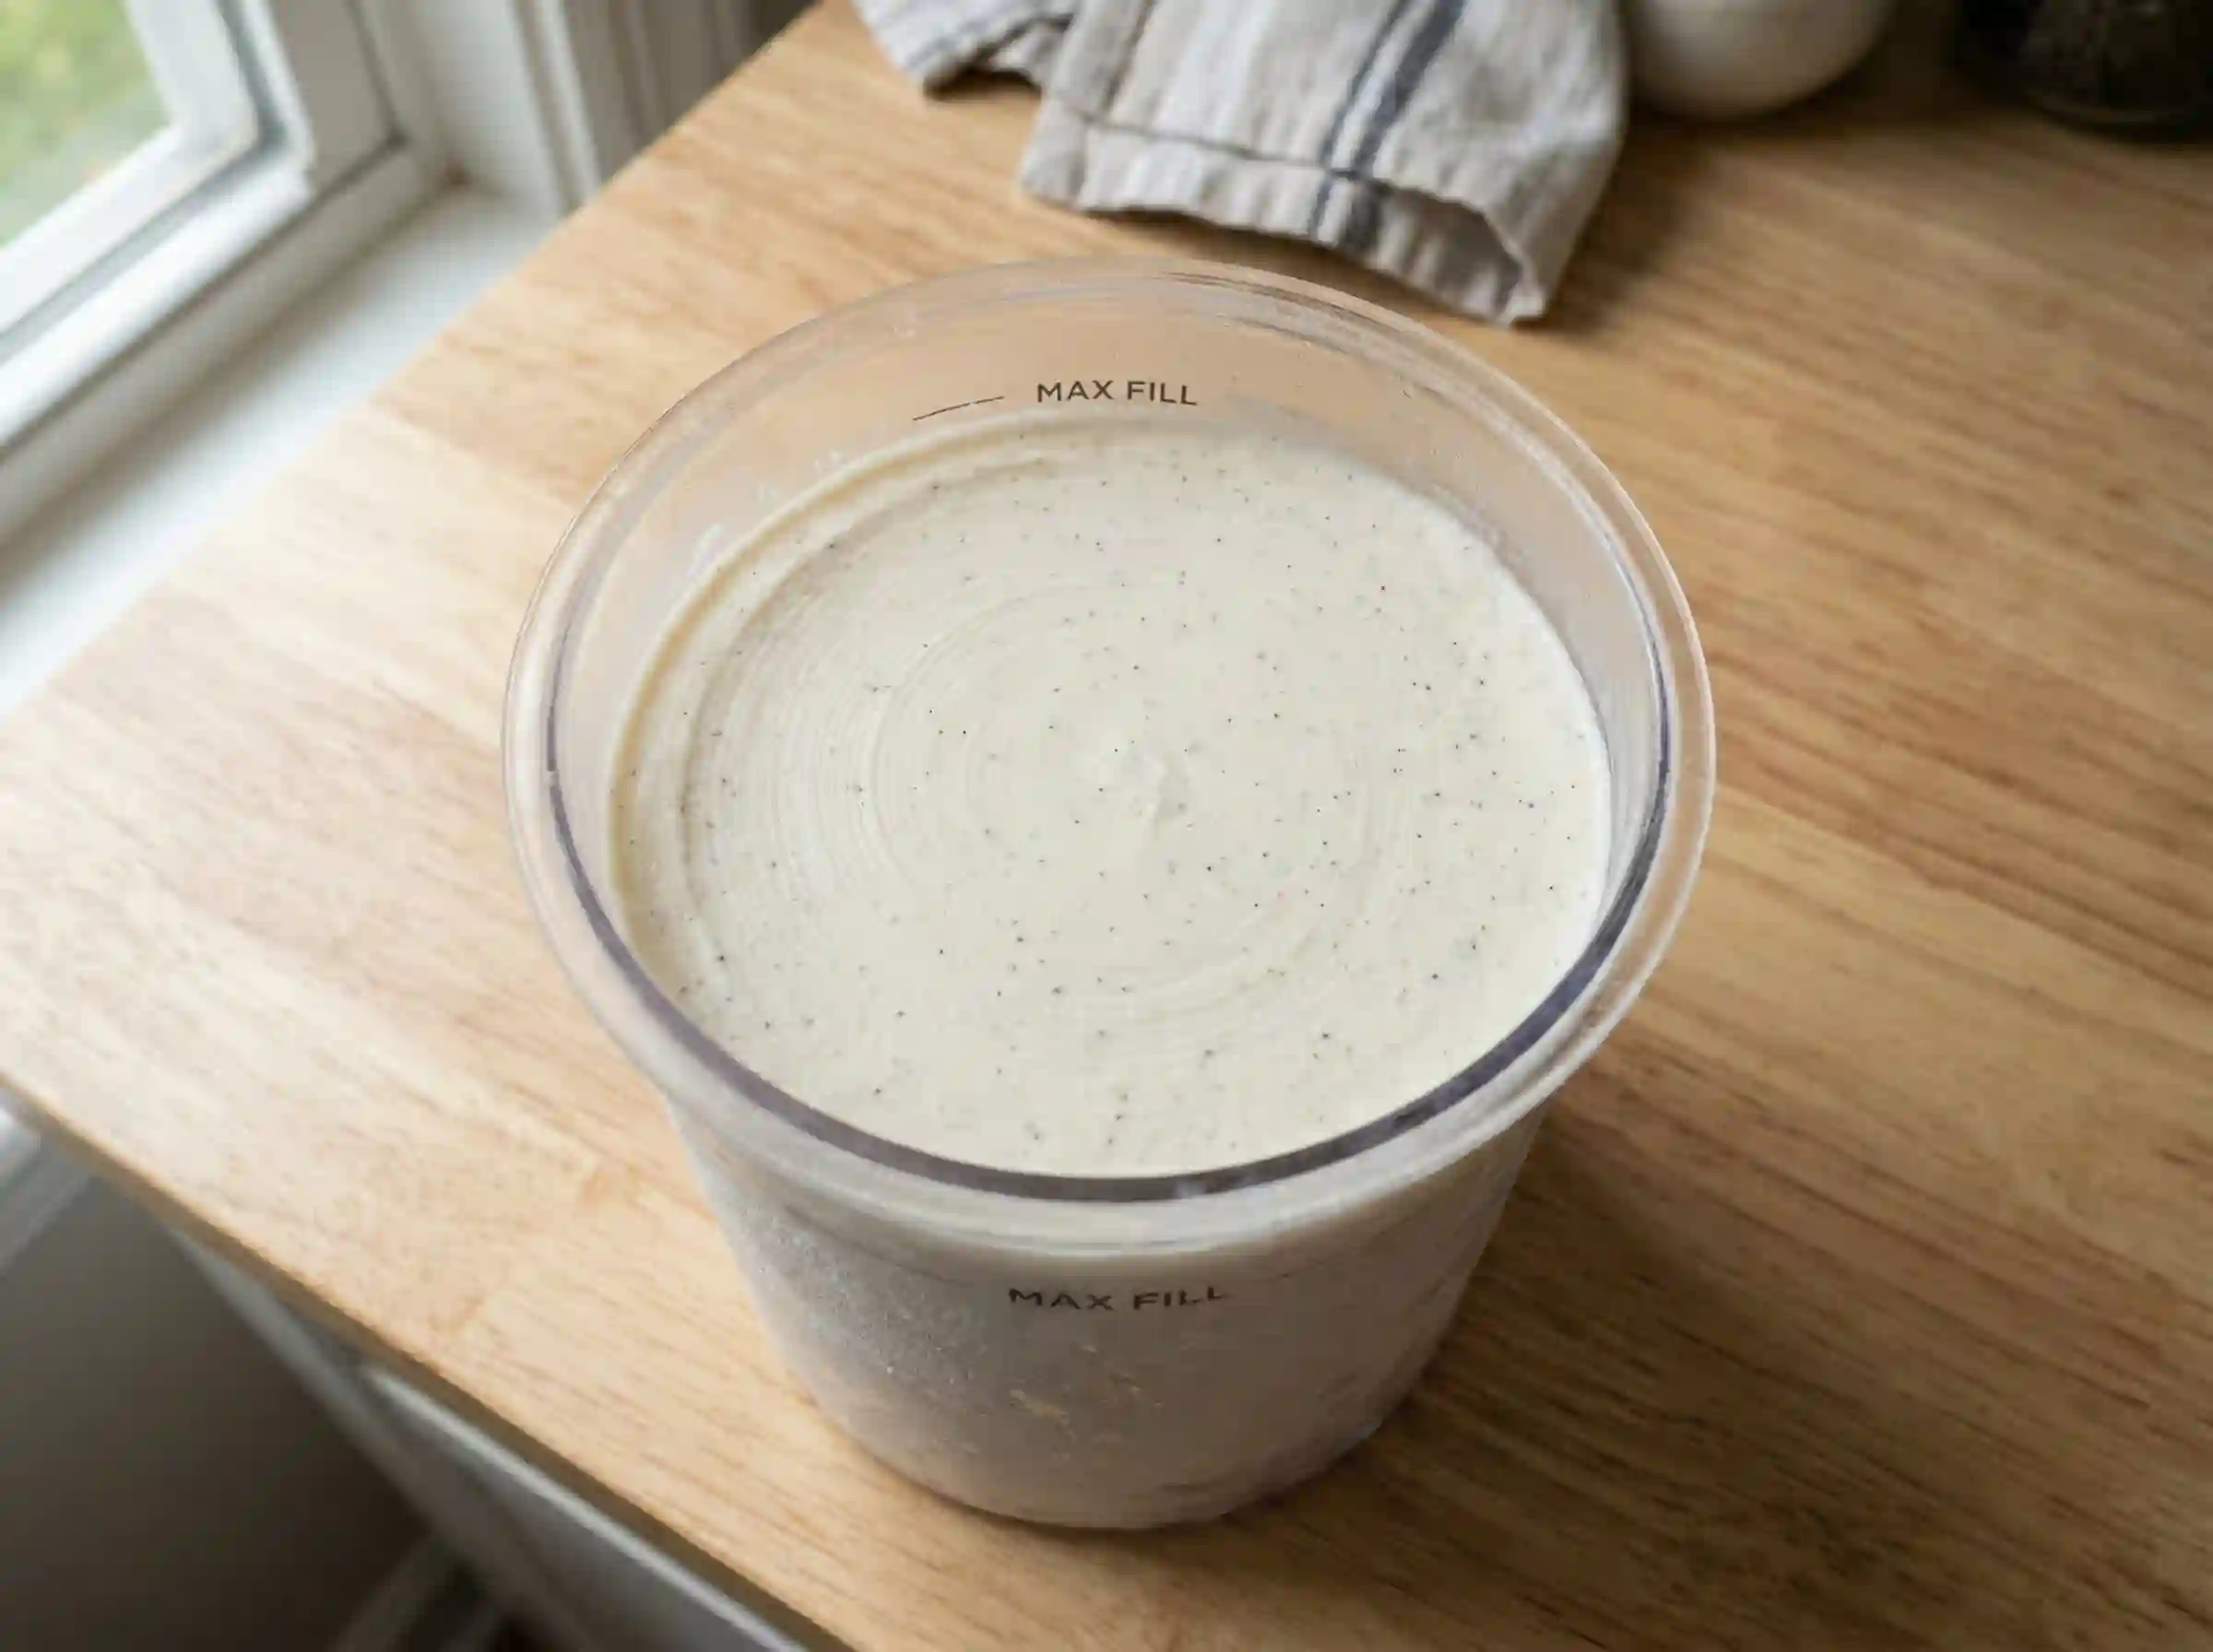
If you don’t drink the pint, keeping it properly preserved preserves the texture, smooth for later. Always store in a pint and smooth/flatten the top before returning it to the freezer to avoid ice crystals and freezer burn.
When ready to eat again, let the machine restore creaminess.
If you’re planning full meal prep, pair this dessert with something savory like this grilled option.
A smooth surface reduces ice buildup and keeps texture consistent.
Best way to store leftovers
- Keep ice cream in the original pint.
- Use a spoon to smooth/flatten the top before sealing.
- Cover tightly and refreeze
These techniques avoid air exposure and retain texture.
How long does it last + best texture the next day
Your ice cream keeps delicious overnight and up to 24 hours with little texture change. After lengthier storage, the pint will freeze solid again.
Run a quick re-spin the next day to restore a creamy consistency before serving.
Dietary Notes (Allergens + Swaps)
This classic vanilla base contains dairy, so it may not suit everyone. You can adjust the recipe with lactose-free milk, choose fully dairy-free options, or use low-sugar sweeteners for your diet.
These tips are for general information and not medical advice.
Always check labels for hidden dairy or sweeteners.
Common dietary swaps
- Use lactose-free milk to reduce digestive discomfort.
- Replace dairy with oat, almond, or soy milk for a dairy-free version.
- Choose low-sugar sweeteners like stevia or monk fruit if reducing sugar intake.
Each switch may slightly alter texture, so re-spin if required.
Lactose-friendly swaps (optional but strong)
If you tolerate dairy but struggle with lactose, consider lactose-free dairy products for the same smoothness.
Some users sometimes add lactase drops/tablets (optional mention) before freezing to help break down lactose.
These alternatives might make the pint simpler to stomach while preserving a creamy texture.
FAQ’s
Do I really need to freeze the pint for 24 hours?
Freezing for a full 24 hours ensures the base becomes completely solid, which allows the Ninja Creami blade to shave and churn it evenly. Shorter freezing times can leave a soft center. This can cause an icy texture or uneven processing. It may also require multiple re-spin cycles.
If your freezer runs very cold, 18 hours may work, but 24 hours gives the most consistent results.
Which setting should I use: ICE CREAM or LITE ICE CREAM?
Use the ICE CREAM setting for higher-fat, higher-sugar bases because it produces a rich, creamy texture. The LITE ICE CREAM setting spins longer and finer. This makes it better for low-fat, high-protein, or dairy-free mixes that need extra processing. It helps create smooth results.
If unsure, start with ICE CREAM and re-spin if needed.
How do I make Ninja Creami vanilla ice cream thicker and creamier?
Creamier texture comes from proper fat and sugar balance, smooth mixing, and correct spinning. Adding heavy cream, cream cheese, or a small stabilizer improves texture. A re-spin cycle and a splash of milk reduce ice crystals. This creates a smoother finish.
Avoid reducing fat too much, or the pint may turn icy.
Can I use vanilla extract instead of vanilla bean paste?
Yes, vanilla extract works well and gives a clean, classic flavor. Vanilla bean paste has a stronger aroma and adds visible specks. Both flavor the base well, but the paste tastes richer. Many people prefer it for homemade vanilla ice cream.
Use 1 teaspoon extract or 1 teaspoon paste per pint.
Why didn’t my pint freeze solid?
If the mixture contains too much sugar or alcohol-based flavoring, the freezing point drops and prevents full solidification. Accurate measurements and balanced sweetener levels help the base freeze well. This lets the machine shave and spin it into a creamy texture.
Always measure sweeteners carefully.
How do I store leftovers so they stay scoopable?
Smooth the surface, seal the pint tightly, and refreeze immediately to reduce air exposure and ice formation. When ready to eat again, run a quick re-spin cycle to restore the creamy texture and break up ice crystals formed during storage.
Flattening the surface helps prevent freezer burn.
Can I make this dairy-free without it turning icy?
Yes, dairy-free versions can stay creamy if you add enough fat and process correctly. Using oat, almond, or soy milk with coconut cream or vegan cream cheese adds more body. A re-spin cycle also smooths ice crystals and improves texture.
Fat content is key to dairy-free success.
What’s the best way to add chocolate chips without crushing them?
Add mini chocolate chips after the first spin by creating a small center well, then run the MIX-IN program. This spreads the pieces evenly without crushing them. It keeps the texture and ensures each bite has balanced chocolate and vanilla flavor.
Mini chips work better than regular-sized pieces.